
Introducing
Envoy

Visitor Management & Desk Reservation System

Offering digital visitor management and desk reservation, Envoy modernizes our workspace planning and provides a flexible platform used by many Fortune 500 companies worldwide. The following is a list of locations in Americas region where Envoy is currently in use.
What is Envoy?
| LOCATION | VISITOR CHECK-IN | EMPLOYEE DESK RESERVATION |
|---|---|---|
| Plano, TX | ✔ | ✔ |
| East Brunswick, NJ | ✔ | ✔ |
| New York City, NY | ✔ | ✔ |
| Mountain View, CA | ✔ | ✖ |
| Bellevue, WA | ✔ | ✖ |
| Austin, TX | ✔ | ✖ |
| Atlanta, GA | ✔ | ✖ |
| Calgary, CAN | ✔ | ✖ |
| Guadalajara, MX | ✔ | ✖ |
| Tampa, FL | ✔ | ✔ (2nd Fl Hot Seats) |
| O'Fallon, MO | ✔ | ✖ |
Checking in via Envoy is required for all visitors and visiting employees at the above locations. For Desk reservations, If you do not click the “check in” button on the app or online before 9:00 AM, then your desk reservation will be released, and other employees can reserve it. If your schedule changes, please "Unschedule" yourself in Envoy so that you will not receive a no-show mark. You can also make partial reservations for the time period that you plan to be in the office - instead of an "all day" reservation.
GETTING STARTED
Download the Envoy mobile app
(Mac App Store | Google Play)

Step 1
Log in with your Wipro email ID
(Ex: jane.smith@wipro.com)

Step 2
Select your primary location.

Step 3
DESK BOOKING
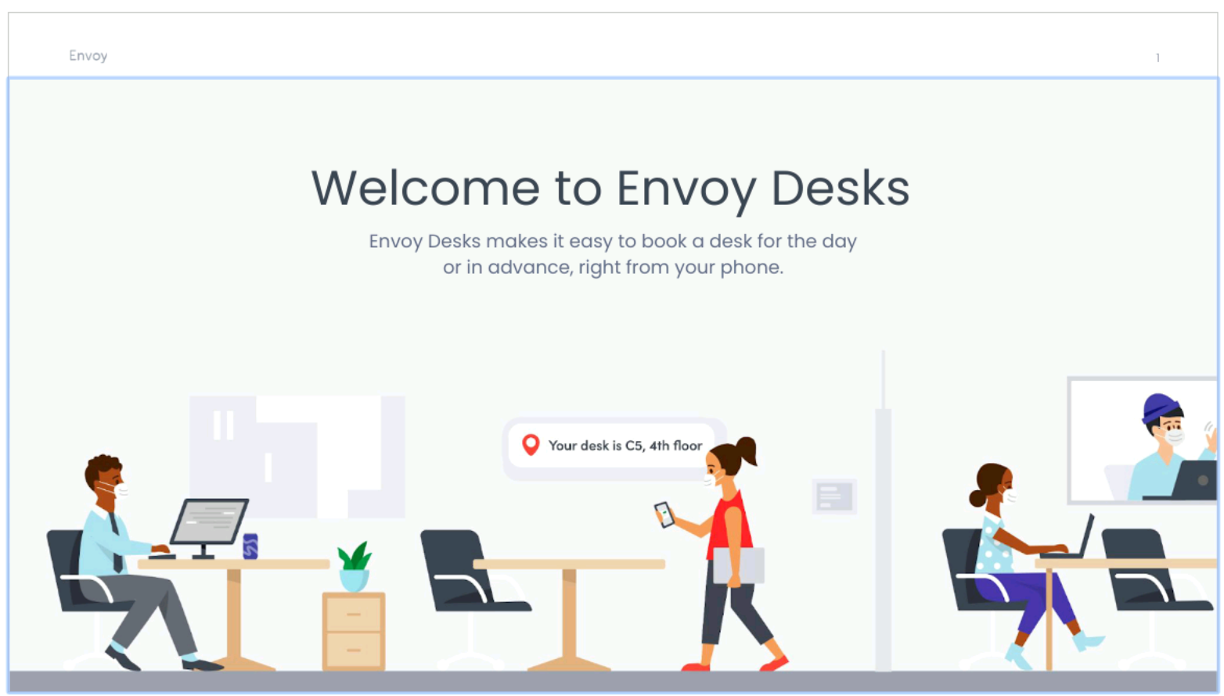
Envoy gives employees the flexibility to choose where they sit, and the ability to filter and book the perfect desk to get the most out of the day. This step-by-step guide covers everything you need to know about desk booking using the Envoy mobile app. Use your keyboard’s arrow keys or swipe through the slides below to learn more or download PDF version.
Topics covered:
App registration
Signing in
Desk scheduling
Partial-day booking
Viewing & modifying desks
Coordinating desks with colleagues
Creating groups to see schedules
Having trouble booking a desk?
Please email your office manager. If the issue still persists, please navigate the Envoy Help Center chat bot for additional assistance.
VISITOR MANAGEMENT
Any employee can create invites for visiting guests and employees. Invites are emailed to recipients with office directions, parking details, touchless sign-in, Wi-Fi login, and more. You will be instantly alerted when they've checked-in and can meet them at reception. Please note, inviting employees and guests does not reserve a space for them.
INVITING GUESTS VIA ENVOY MOBILE
For iPhone users
Open Envoy: Your Workplace App on your phone.
Tap the + symbol and then "Add a visitor".
Fill in the invite form with all the required information.
Toggle on 'Send invite email' (optional but recommended to send information pertinent information to ease the check-in process).
Invite from contacts
Open Envoy Mobile.
Tap the "+" button
Tap “Add a visitor” and fill out the invite form.
You can choose to fill out the form manually or add from contacts.
Toggle on 'Send invite email' (optional).
INVITING GUESTS VIA ENVOY WEB

Inviting visitors via Android
Open Envoy Mobile on your phone.
Go to the Visitors tab at the bottom and the Invites tab at the top.
Tap the plus sign (+).
Fill in the invite form, and tap the checkmark (✓) in the top right.
On the confirm invite screen, tap the checkmark to invite the visitor.
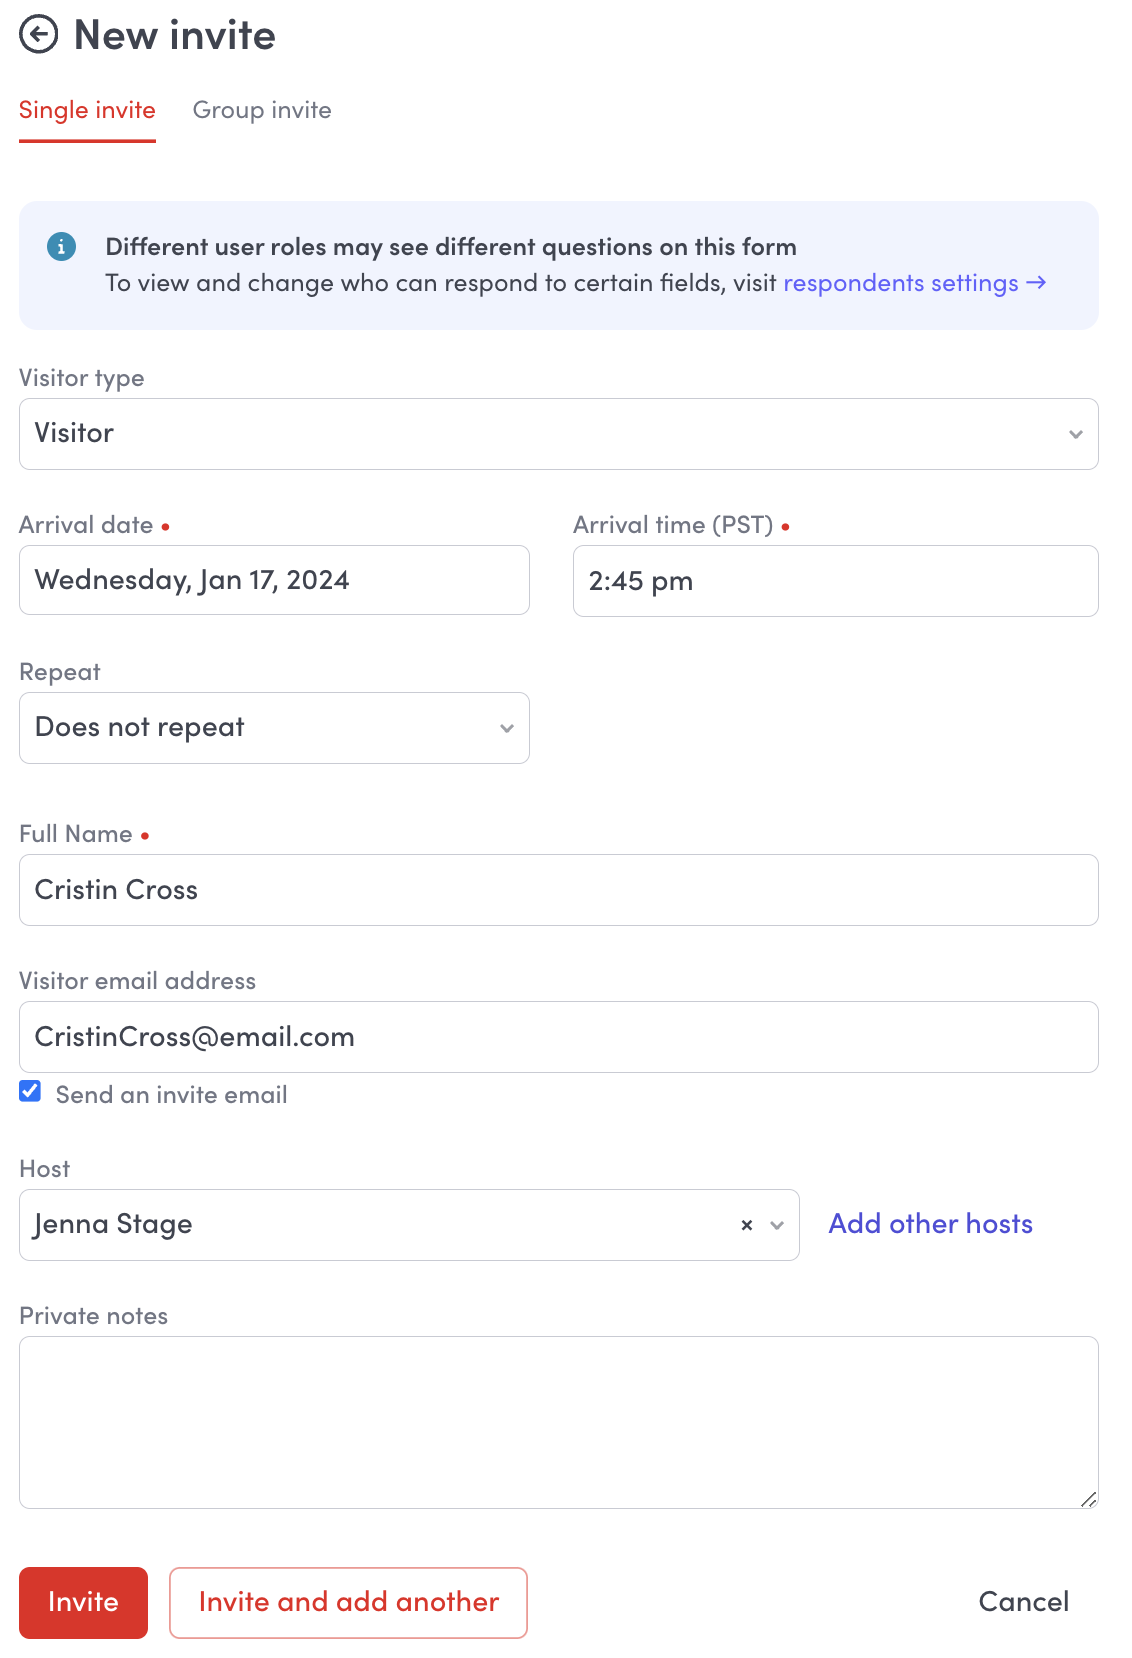
Single Invite
Go to Visitors > Invites.
Click “New invite".
Choose the Visitor type, which decides which sign-in flow your guest will use.
Designate a Host. Optional - Add other hosts.
Fill in the form. Fields with a red dot are required to create the invite.
Optional: Set an invite to repeat. Choose how often an invite should repeat.
Select an end date if you don’t want the invite to extend past a certain date.
Optional: Leave a private note. This will be visible to Envoy administrators but not the visitor.
Optional: Check the Send an invite email box to send an email that prompts visitors to register.
Click “Invite".
After you create an invite, you have to option to go back and edit arrival date, arrival time, private notes, and any other sign-in fields your visitor flow might require.
Group Invite
Go to Visitors > Invites
Click “New invite” You’ll be taken to the invite form.
Select Group invite from the top navigation.
Select the correct location and visitor type.
Enter a Group name that you can use to reference these visitors in the logs.
Fill in the invite details into the grid.
Be sure to select the employees name that pops up for each person.
Please note that the Arrival date column has a date picker, and the Host column searches from names in your employee directory.
If you do not select a date from the picker or a name from the directory, you may encounter errors when sending your group invites.
Optional: Check the Send invite email box if you want to send these people an email confirming their upcoming visit, and select whether the Group name should be included in the subject of the invite. This email will also include a link to “Check in” where visitors can complete your sign-in fields before they arrive.
Click “Create invites”.
Frequently Asked Questions
-
Executive Assistants must have an envoy account and be tagged to an Executive in order to reserve a seat. Once an executive assistant has delegate access they can create reservations via employee log in workplace. Instructions can be found here
International assistants must be manually added to envoy. Please contact your location office manager for assistance.
For more information, please email .
-
Up to 2 weeks in advance
East Brunswick, NJ
New York City, NY
Bellevue, WA
Plano, TX
Tampa, FL (2nd Floor) -
Your patience is appreciated. If a team member is seated in your reserved seat, kindly notify them of your current reservation, or contact the office manager to assist them to the next available desk.
-
If you do not check-in for your desk reservation before the deadline time, then your seat will free up and it will count as a No Show. We recommend enabling locations services to automatically check you in when you arrive at the office. You can also enable notifications to be reminded to check-in before the time window closes.
-
All users are automatically signed out at 10:00 pm each night. If you are leaving early, please sign out so that your desk becomes available for booking.
-
Via mobile app
Schedule > select the date > View Desk > select the date at the top left of screen > toggle off All Day > enter new times > Done
-
To switch office locations within the app, tap the Wipro logo at the top left corner of the home screen. Choose your desired location from the list.
Please note when switching locations, be sure to switch back to your base location to ensure check me in based on location.
-
Not at this time. Currently Wipro uses Envoy for desk or office reservations and visitor management. Please visit your location’s page for confernce booking instructions.
-
Employees who are Band E Level and above can book private offices via Envoy. Employees not in that band level may arrange an enclosed space for confidential calls with the office manager.
-
See specific policies for your office in the At This Location section of your city’s page.
East Brunswick, NJ
New York, NY
Plano, TX
Mountain View, CA
Tampa, FL
Atlanta, GA -
In the mobile app, navigate to the ‘Schedule’ tab and click the date that you no longer need to reserve. Select the ‘Cancel Reservation"‘ button. Your reservation has now been cancelled. Please note that clicking ‘free up’ does not actually cancel the reservation.
-
For more user information, please visit The Help Center on Envoy's website. For immediate troubleshooting support, please use the chat bot on Envoy's website (located at the bottom right corner).